Inventor® Training
Master Inventor!

Find Face Centroid in Autodesk Inventor
There are many reasons you may need the centroid of a face. You can use it to control sketch geometry, connect bodies, drill holes, the list goes on.
This tip shows you a simple way to find the centroid of a flat face. The face can have any shape, and the centroid will automatically update when the shape changes.
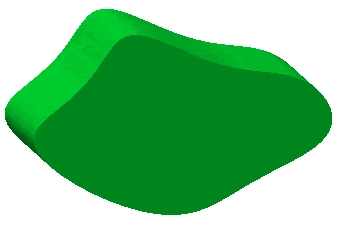
The trick is to insert a point on the face using Loop Select.
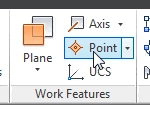
The first step is to evoke the Point command from the Work Features panel in the 3D Model tab.

Now right click and select Loop Select.
Select the edge on the...
Algebra the Game
Teaches Algebra while you Play!
Play on any device connected to the internet.