Inventor® Training
Master Inventor!

Dragging Fully Constrained Sketches in Autodesk Inventor
After you’ve fully constrained a sketch you might find it necessary to change several dimensions at the same time. This tip shows you how to drag sketch geometry to quickly change multiple dimensions.
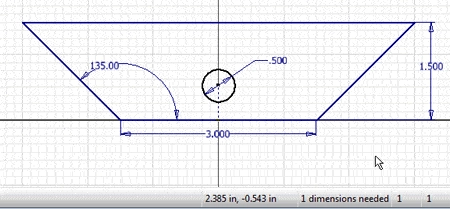
Let’s say we want to change both the 1.500-in dimension and the 135-degree dimension. We could change them one at a time, but let’s say we’re not sure about what the final dimensions need to be. So we’re going to drag geometry to get the size and shape we want.
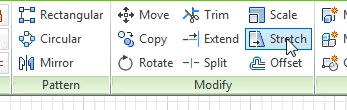
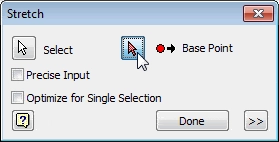
Start by opening the Stretch command from the Modify panel.
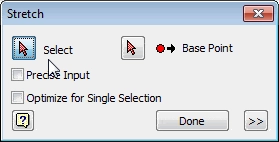
The first step is to select the geometry that will be modified. We want to change the 1.500-in and 135-degree dimensions, so we need to select the geometry these dimensions define.
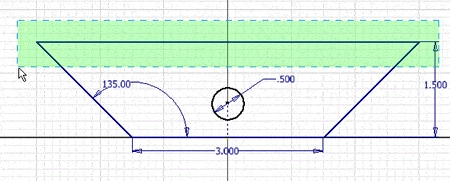
You can select the lines individually, or drag a window over them.
The next step is…
Algebra the Game
Teaches Algebra while you Play!
Play on any device connected to the internet.