Inventor® Training
Master Inventor!

Move Assembly UCS with Autodesk Inventor
You’ve created an assembly only to find that the UCS (User Coordinate System) is not where you want it. This tip will show you how to move the UCS relative to parts in the assembly.
We’ll use the following assembly as an example. The Manifold, which is the rectangular part on the bottom, is the ground part, and the origin of the assembly is on the bottom left of the Manifold.
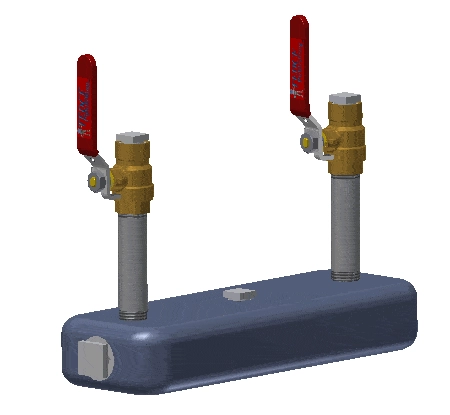
Let’s say we want the origin to be centered on the bottom surface of the Manifold. The trick to doing this is not to move the UCS, but to move the base part of the assembly.
You have to keep control of the orientation of the part while you move it, so follow these steps.
Step 1
Measure the width and length of the part so that you know how far you need to move it. In this case the length of the Manifold is 12 inches, and the width is 3 ½ inches.
Step 2
Show all…
Algebra the Game
Teaches Algebra while you Play!
Play on any device connected to the internet.